- Phone0086 731 8564 8255
- E-mailsales@cscsteel-manufacturing.com
-

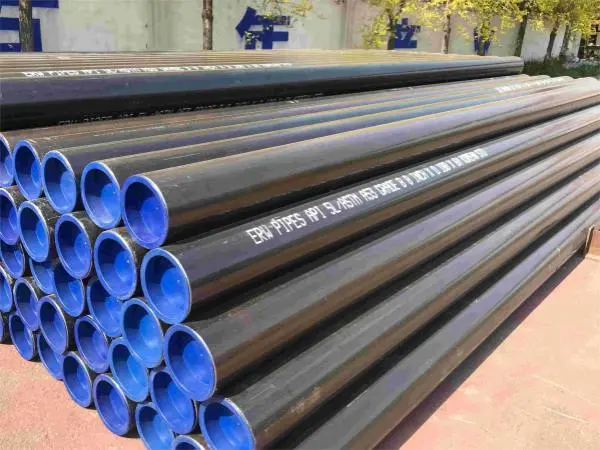
Rubber lined pipes are essential for transporting abrasive slurry solutions, corrosive chemicals, and various other liquids. These pipes provide durability and resistance to wear, making them ideal for challenging environments. This blog outlines the steps involved in creating a rubber lined pipe.
Steps for Creating a Rubber Lined Pipe
- Fabricate the Pipe
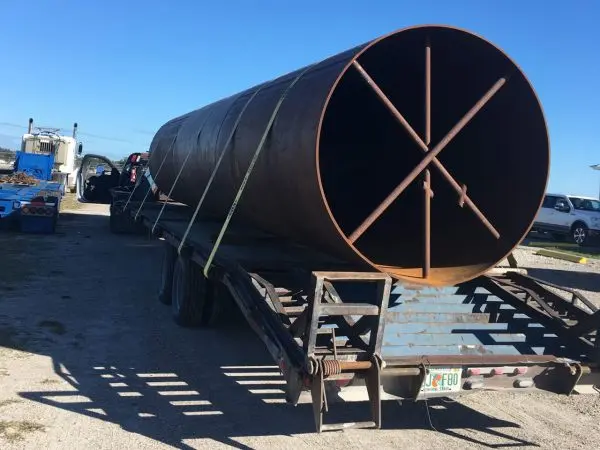
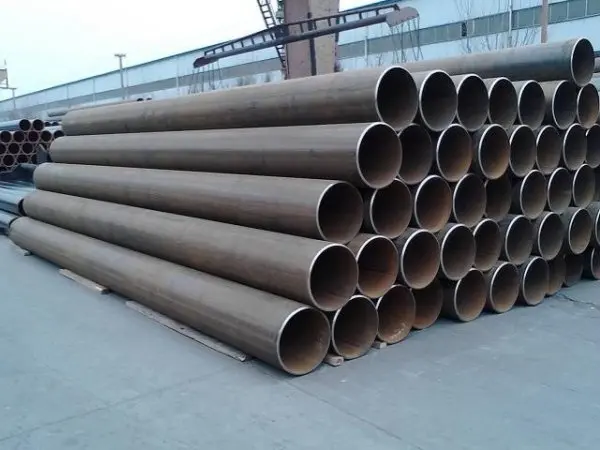
The process begins with fabricating the base pipe using high-quality materials, often steel or other metals, to ensure structural integrity and strength. The dimensions and specifications are determined based on the intended application.
- Inspect the Weldment
After fabrication, the weldments are thoroughly inspected to identify any defects or weaknesses. This step is crucial, as a sound weld is vital for the overall durability of the lined pipe.
- Prepare the Substrate (Blasting)
The inner surface of the pipe must be prepared for bonding. This typically involves abrasive blasting to create a rough texture, enhancing adhesion for the rubber lining. This step ensures that the surface is free from contaminants, rust, and other impurities.
- Apply Adhesive System
Once the substrate is prepared, a specialized adhesive system is applied. This adhesive is designed to bond the rubber lining securely to the pipe, providing long-lasting performance under various conditions.
- Make a Rubber Tube
A rubber tube is then manufactured using a suitable rubber compound, selected for its properties such as abrasion resistance, chemical compatibility, and flexibility. The tube must be tailored to fit the dimensions of the pipe perfectly.
- Stitch the Tube Seam
The seam of the rubber tube is stitched or joined securely to ensure that it can withstand the internal pressures and stresses during operation. This step is crucial for maintaining the integrity of the lining.
- Insert the Tube into the Pipe
The prepared rubber tube is carefully inserted into the fabricated pipe. Ensuring a proper fit is essential to maintain the effectiveness of the lining.
- Apply the Flange Faces
Flange faces are then applied to the ends of the lined pipe, allowing for secure connections to other piping systems. This step ensures that the lined pipe can be integrated seamlessly into existing infrastructure.
- Vulcanize (Cure) the Lining
The lined pipe undergoes vulcanization, a curing process that enhances the rubber's properties through heat and pressure. This step is critical for achieving the desired strength, elasticity, and chemical resistance of the rubber lining.
- Inspect & Spark Test the Lining
After vulcanization, the rubber lining is inspected for any defects. A spark test may be performed to detect pinholes or weak spots in the lining, ensuring its integrity before the pipe is put into service.
- Blast Unlined Surfaces
Any unlined surfaces of the pipe that will be exposed must be blasted to prepare them for protective coatings. This step ensures that these areas are properly treated to prevent corrosion.
- Paint the Unlined Surfaces
Protective paint or coatings are applied to the unlined surfaces. This step helps to further safeguard the pipe against environmental factors and corrosion, enhancing its longevity.
- Final Inspection
The last step involves a comprehensive inspection of the entire rubber lined pipe. All aspects, including the integrity of the lining, the quality of the adhesive bond, and the protective coatings, are checked to ensure that the product meets the required specifications and standards.
By following these steps, manufacturers can create high-quality rubber lined pipes that offer exceptional durability and reliability for transporting various liquids in demanding conditions.
